Creating a form takes just a few steps: give it a name, add questions, and share the link.
Create a new form
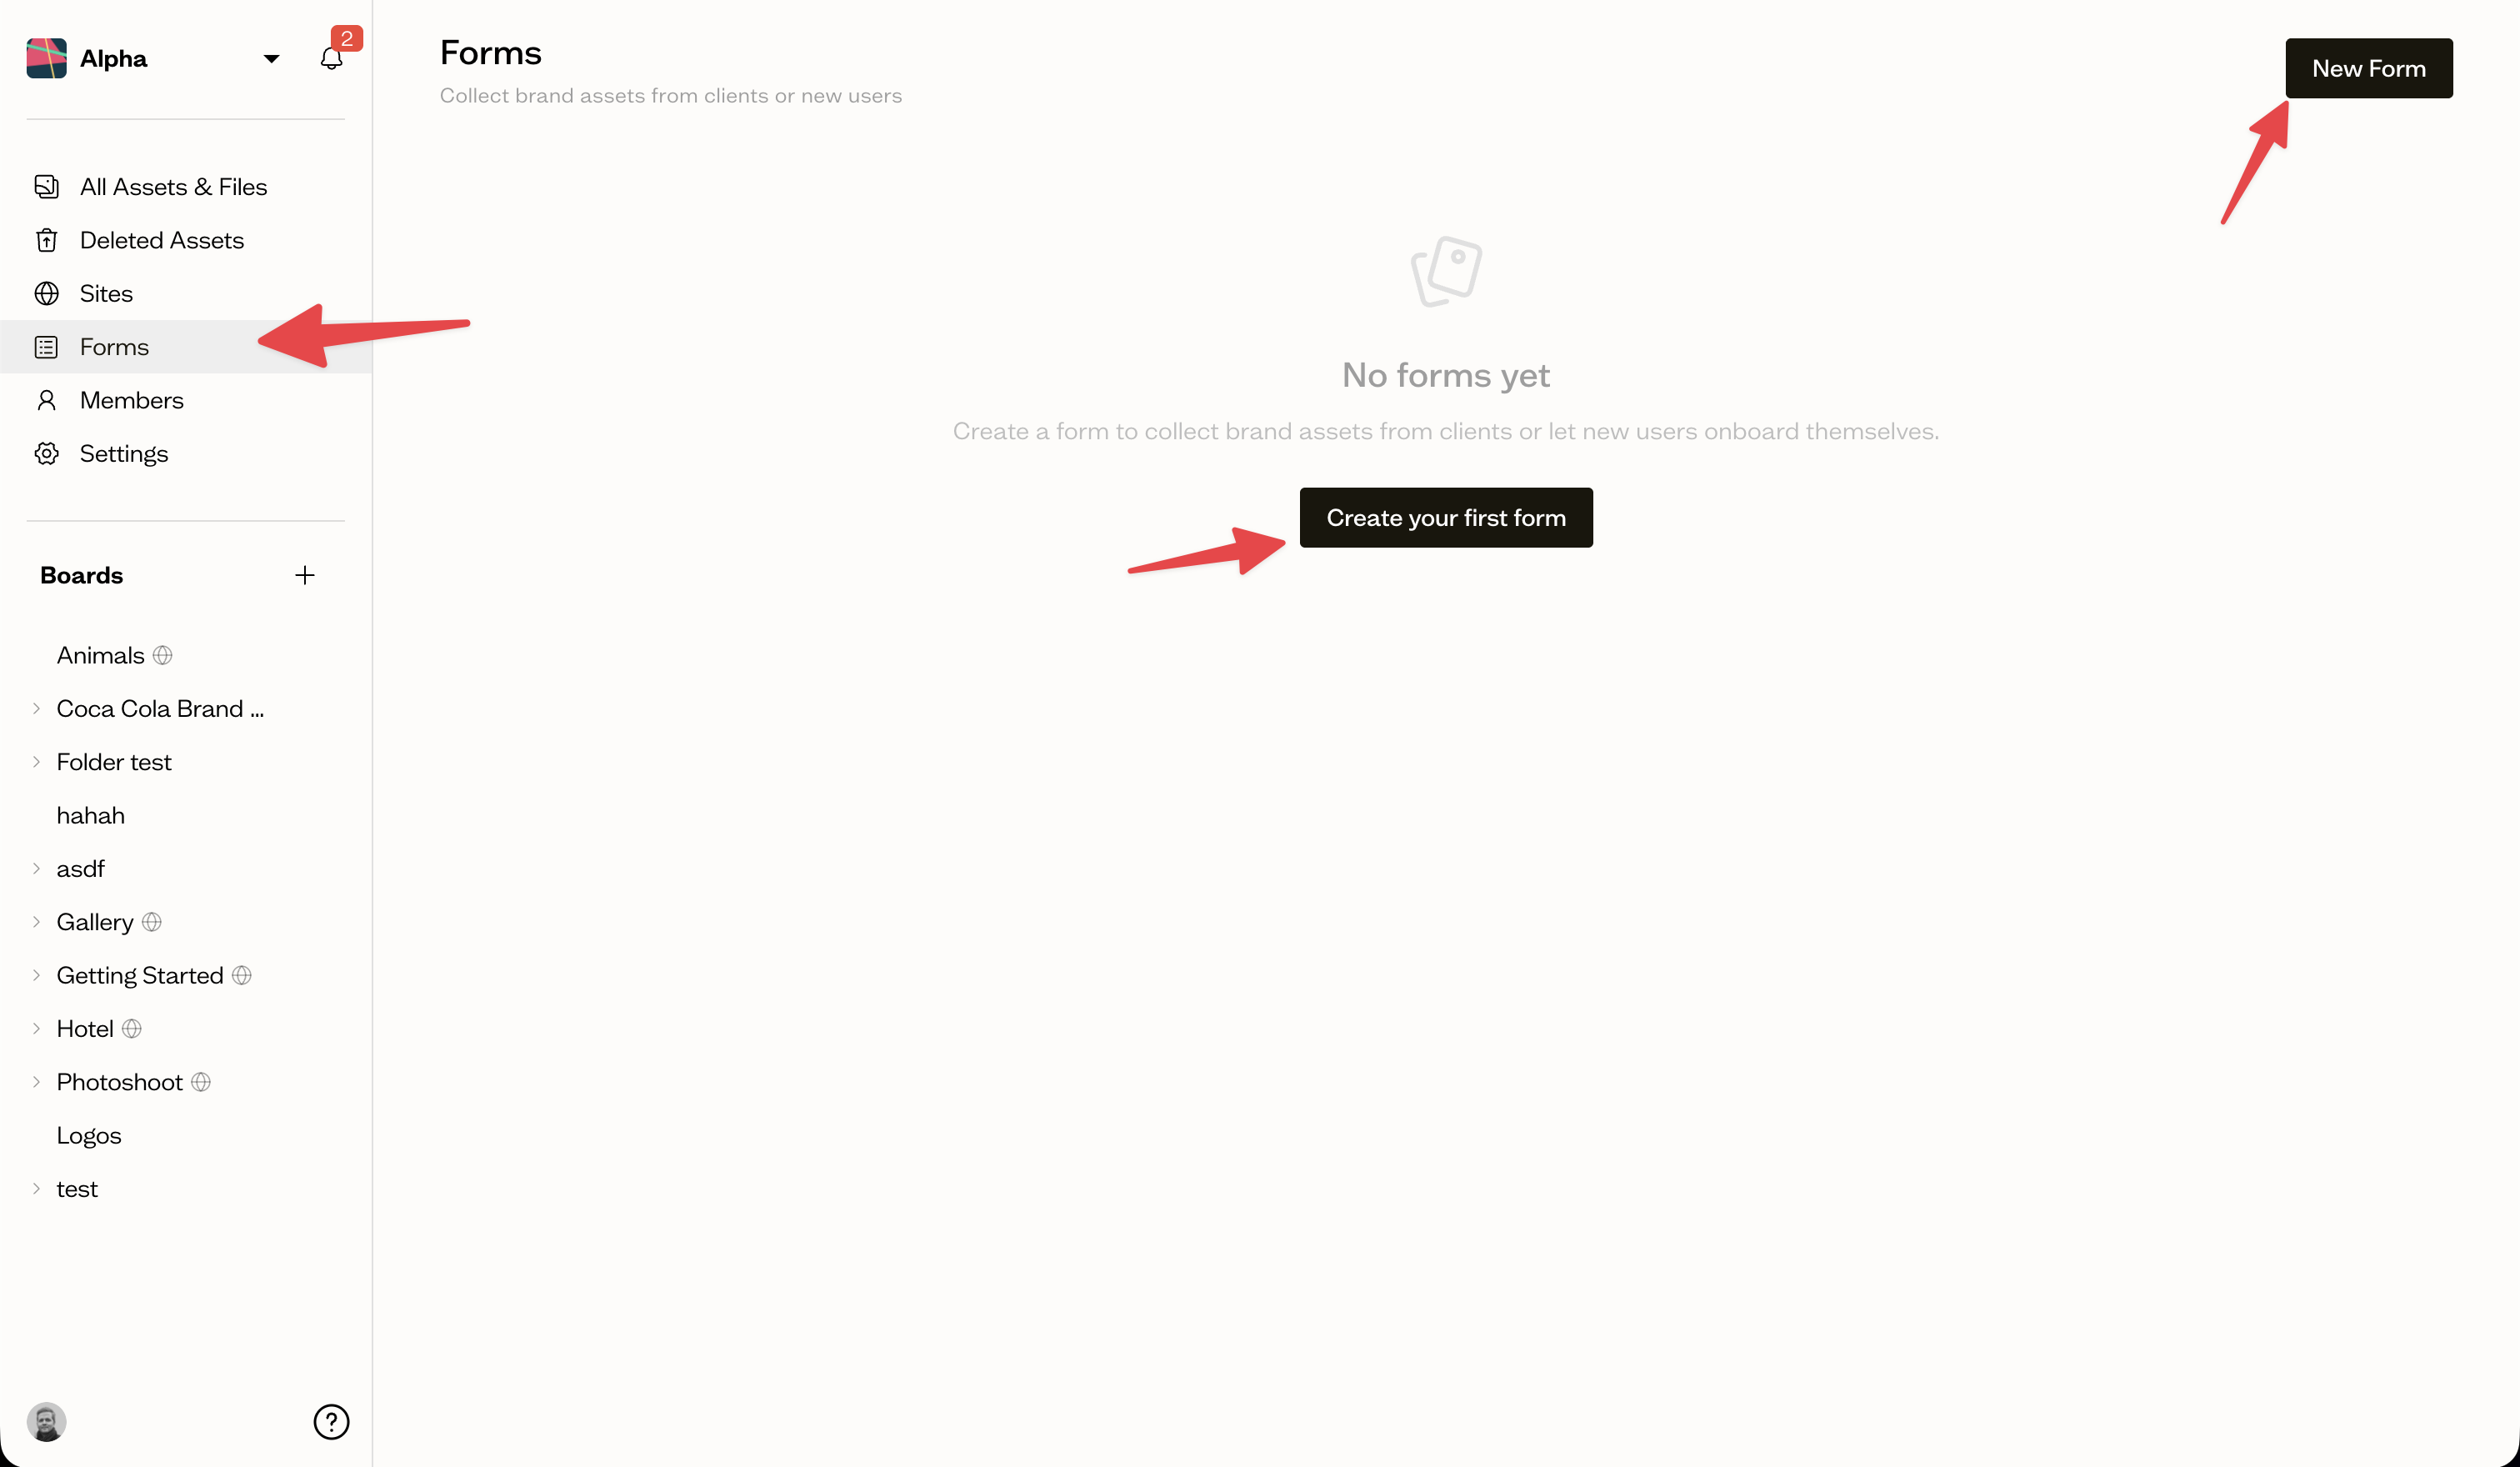
Open your workspace and select Forms in the sidebar. Select New Form, give it a name, and you are taken to the form builder.
The form builder
The builder has four tabs:
- Questions — add, edit, reorder, and delete questions
- Settings — form name, per-submission boards, guest invites, and more
- Branding — logo, colors, and font for the public form (Team plan and above)
- Submissions — view and manage all submissions to this form
Add a question
On the Questions tab, select Add question. Choose a question type and fill in the details:
- Title — what the submitter sees (e.g. "Upload your logo files")
- Description — optional helper text shown below the title
- Required — whether the question must be answered before submitting
- Destination board — the board where uploaded files will be placed
- Accepted file types — restrict uploads to specific types like IMAGE or FONT
- Allow multiple — whether more than one file can be uploaded
- Max files — an optional cap on the number of files
Reorder questions
Drag the handle on the left of each question card to change the order. Questions appear to the submitter in this sequence.
Conditional questions
A question can be set to appear only after a previous question has been answered. Use this to show follow-up questions, for example a color picker that appears after logo files are uploaded.
Next steps
Configure form settings to set up per-submission boards and guest invites, or jump to sharing your form to start collecting responses.